Elon Musk continues to anger and frustrate long time Twitter members who don’t want to kowtow to his “Twitter Blue” money grab. Today, Twitter users who have SMS two factor authentication turned on for their accounts received this message when they opened the website or app:

What the message DOESN’T tell you is that you have other options besides getting your 2FA codes via text message, options you may already use for other services. We’re going to look at setting up one of those options, using an authenticator app, in this article.
First off, you will need an authenticator app on your phone. Here are some of your options on iOS and Android:
Once you have your authenticator app of choice, you can set up your Twitter 2FA in it. These instructions are for the Twitter website, but you can access your 2FA settings in the mobile app on iOS and Android as well.
-
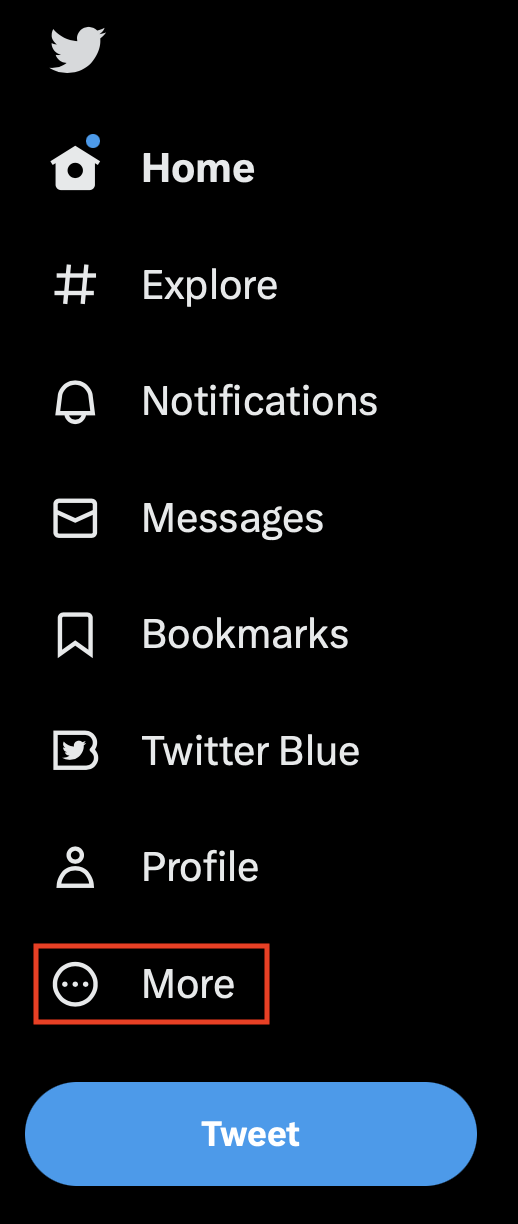
- In the navigation bar on the left side of the Twitter page, click on “More”.
- In the menu which appears, click on “Settings and Support” to expand it, then click on “Settings and privacy”.

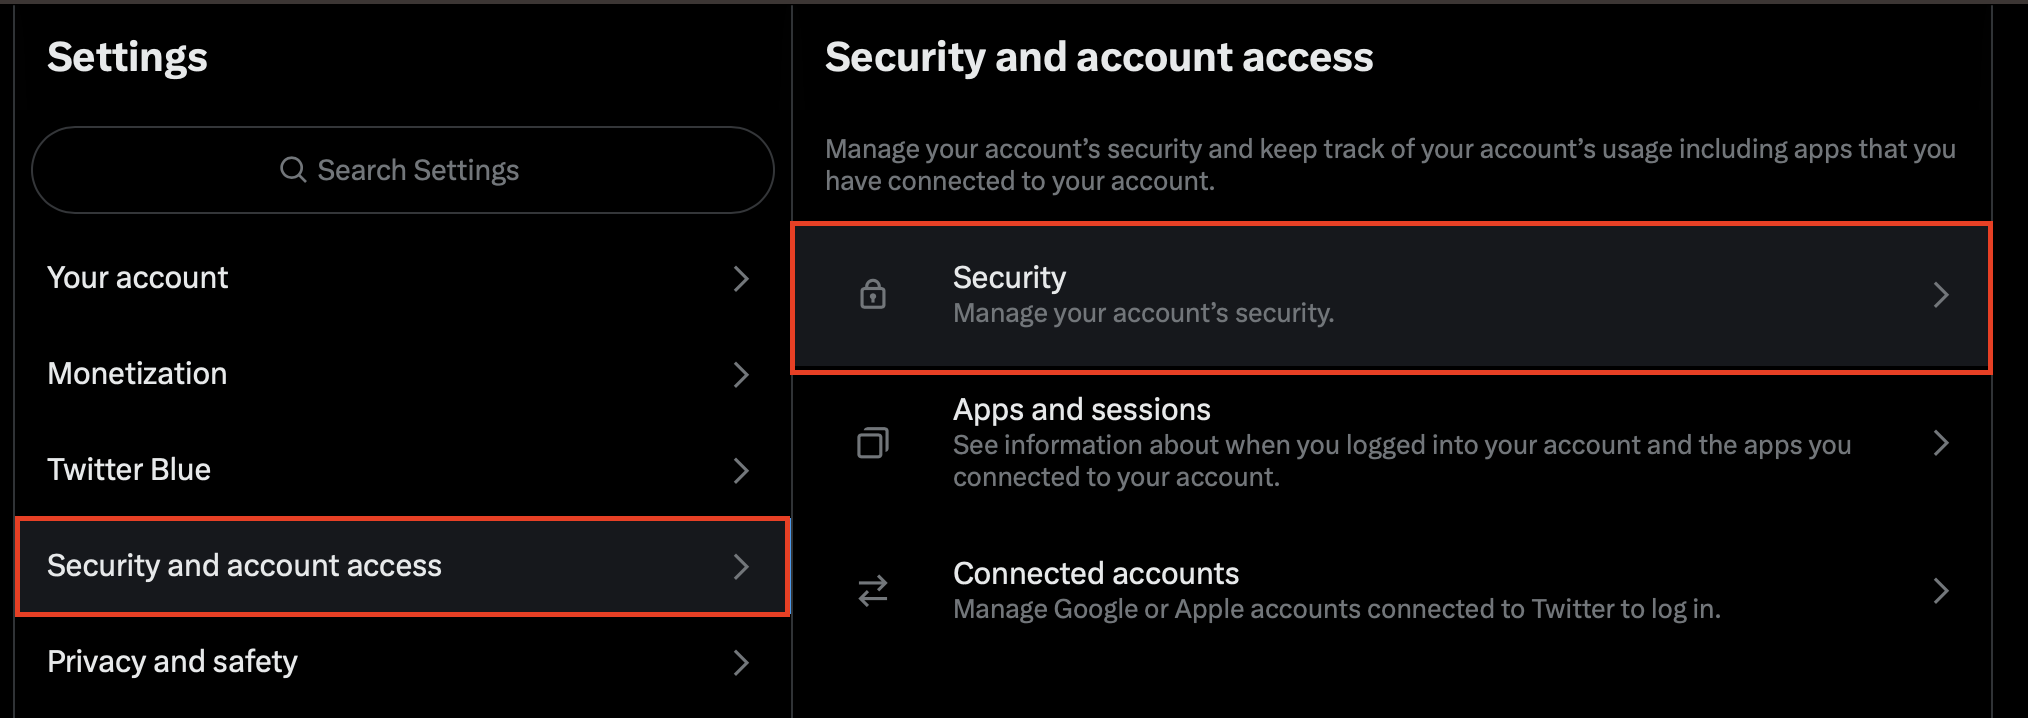
- On the Settings page, select “Security and account access” on the left, then select “Security” on the right.
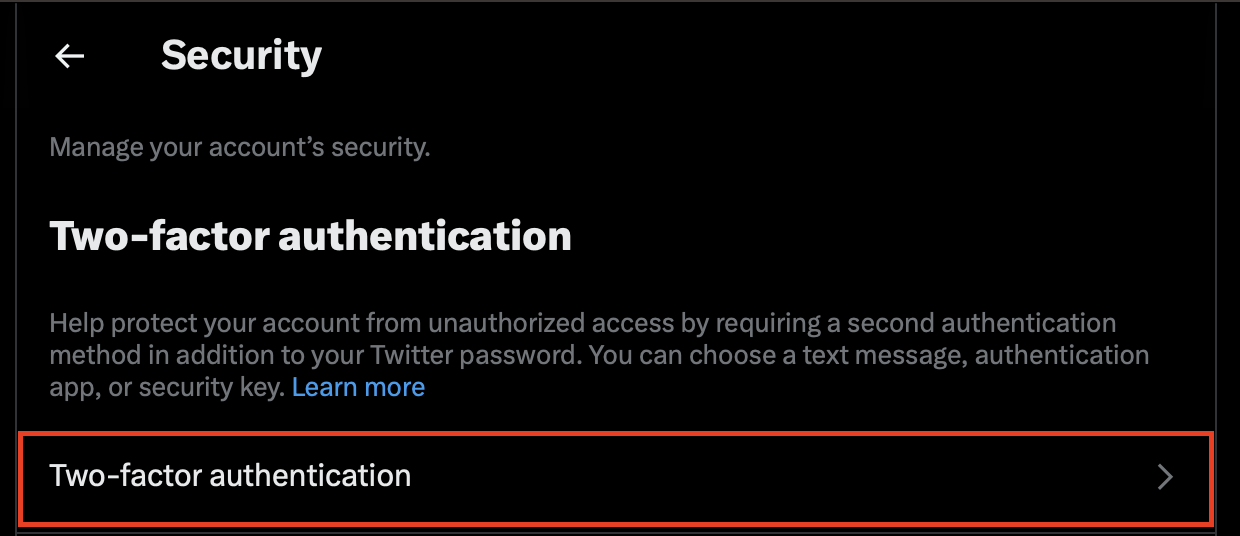
- Under Security, select “Two-factor authentication”.
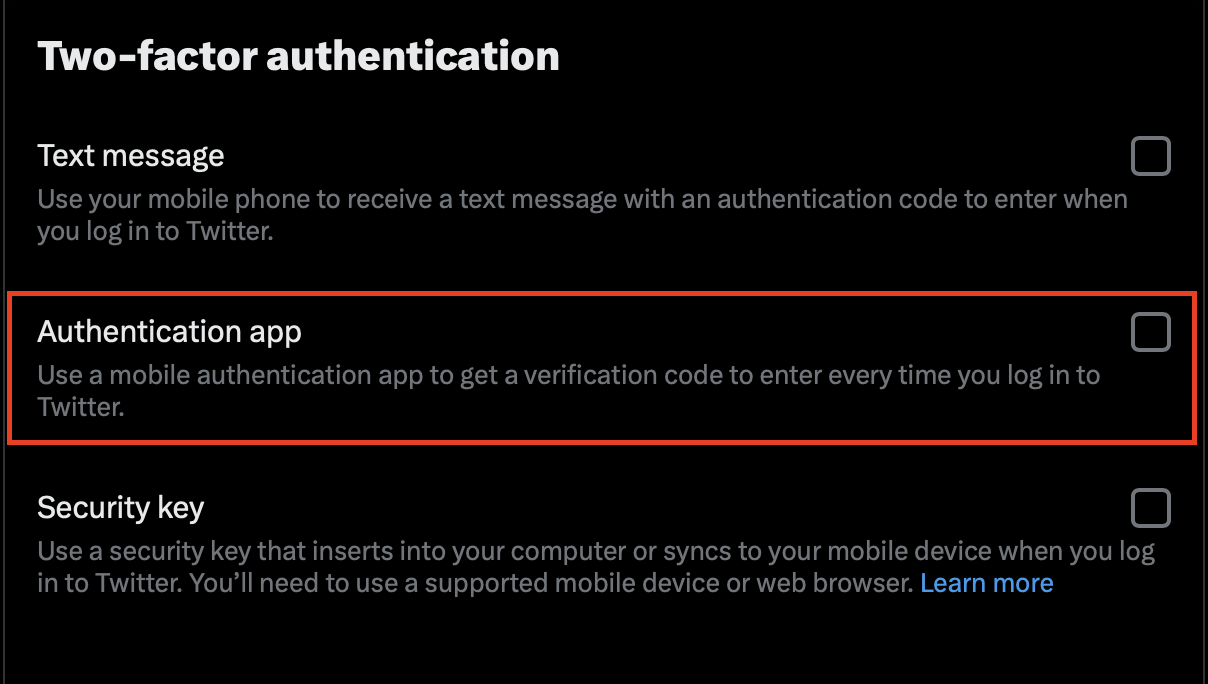
- Under Two-factor authentication, check the box for “Authentication app”.
- In the pop-up message which appears, click the “Get Started” button.

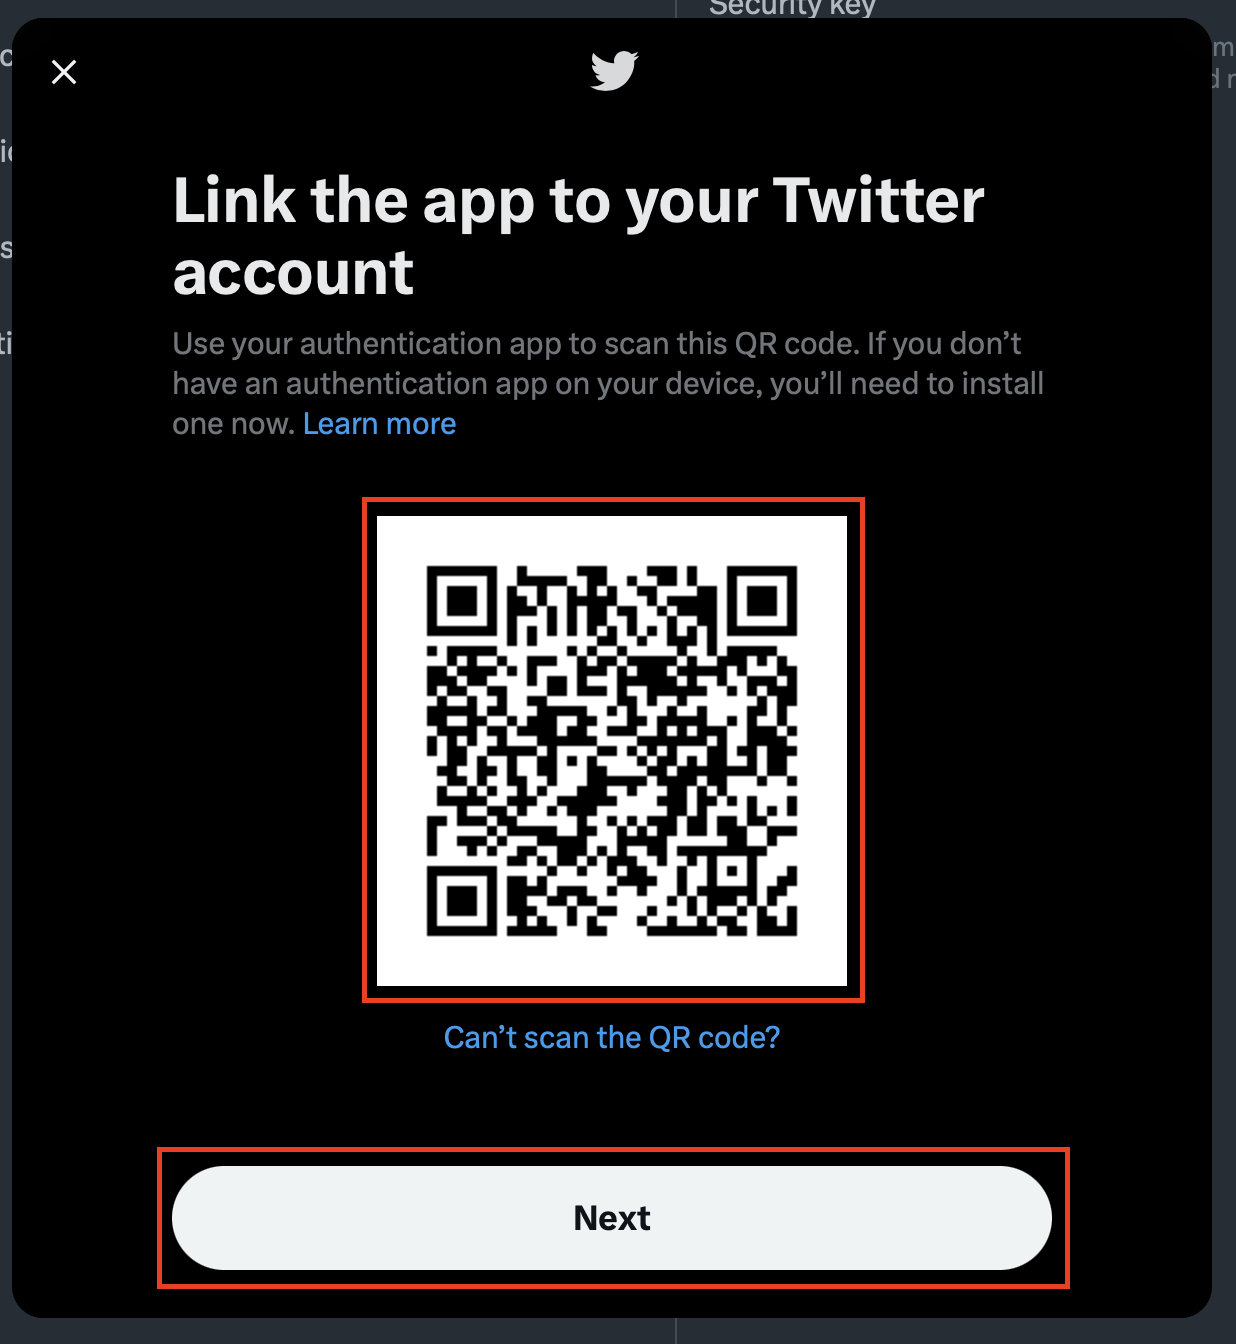
- In your authenticator app, use your phone’s camera to scan the QR code on the screen. Click “Next” once the code is scanned and you’ve added Twitter to the authenticator app.
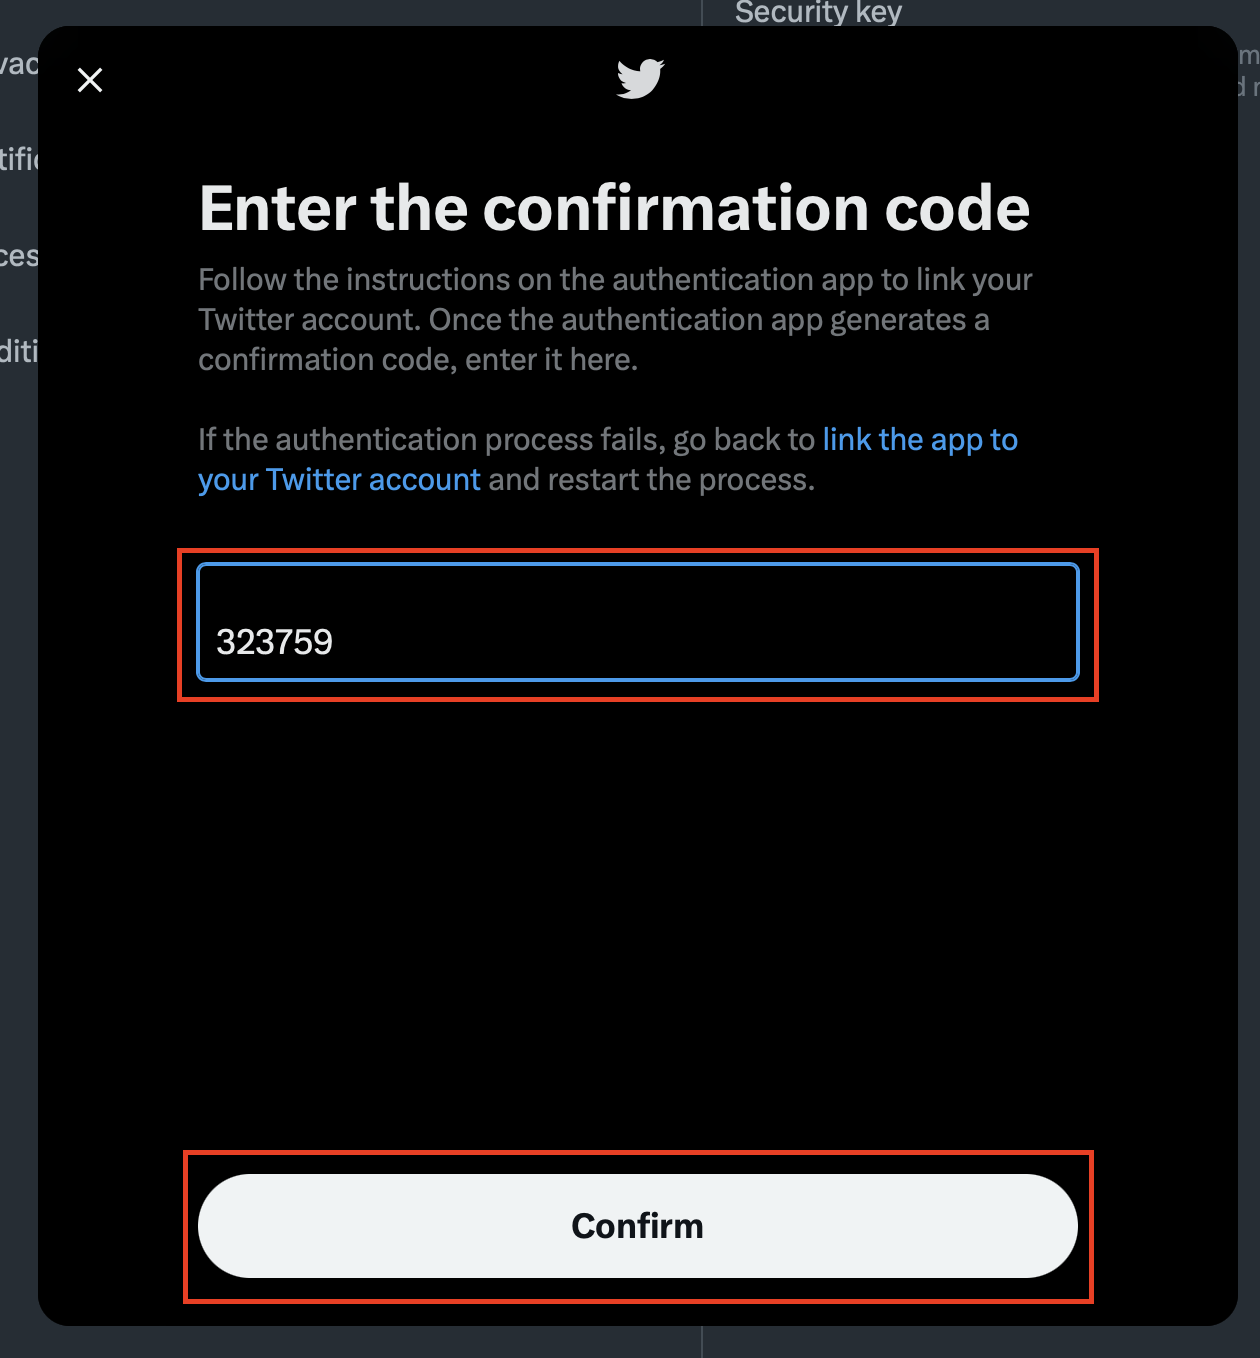
- Enter the code currently showing for Twitter in your authentication app, then click the “Confirm” button. Note that the code usually refreshes every 30 seconds, so you may need to wait for the next code if you’re about to hit that time limit.
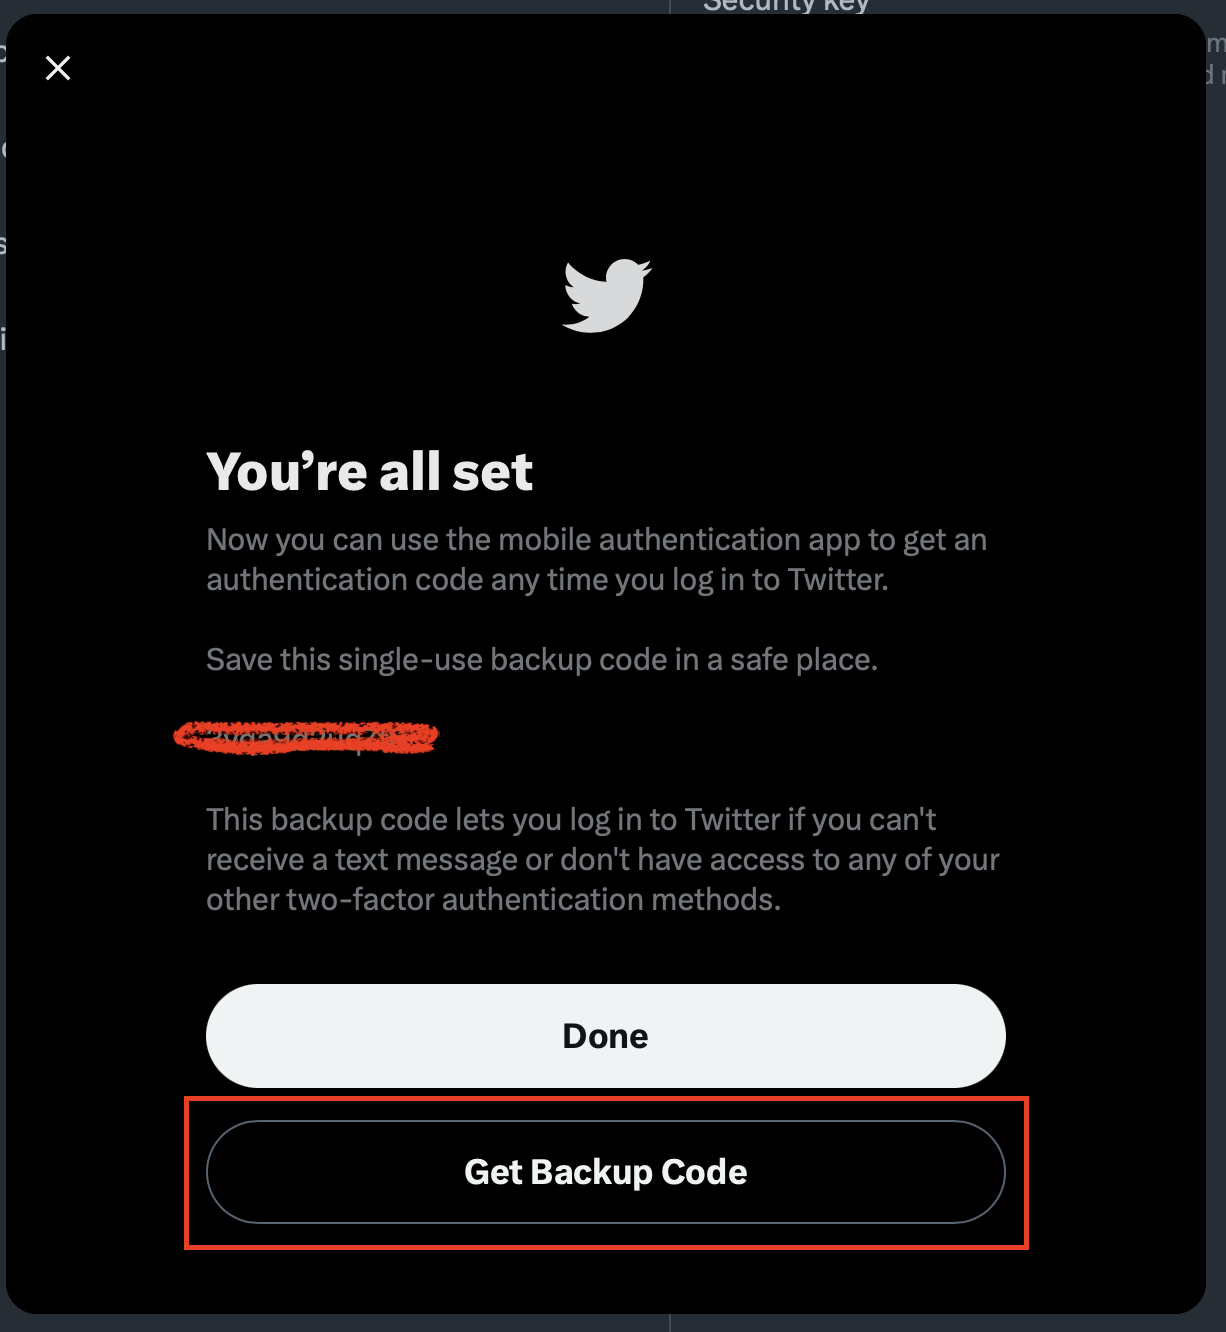
- When you get to the You’re all set screen, click on “Get Backup Code”.
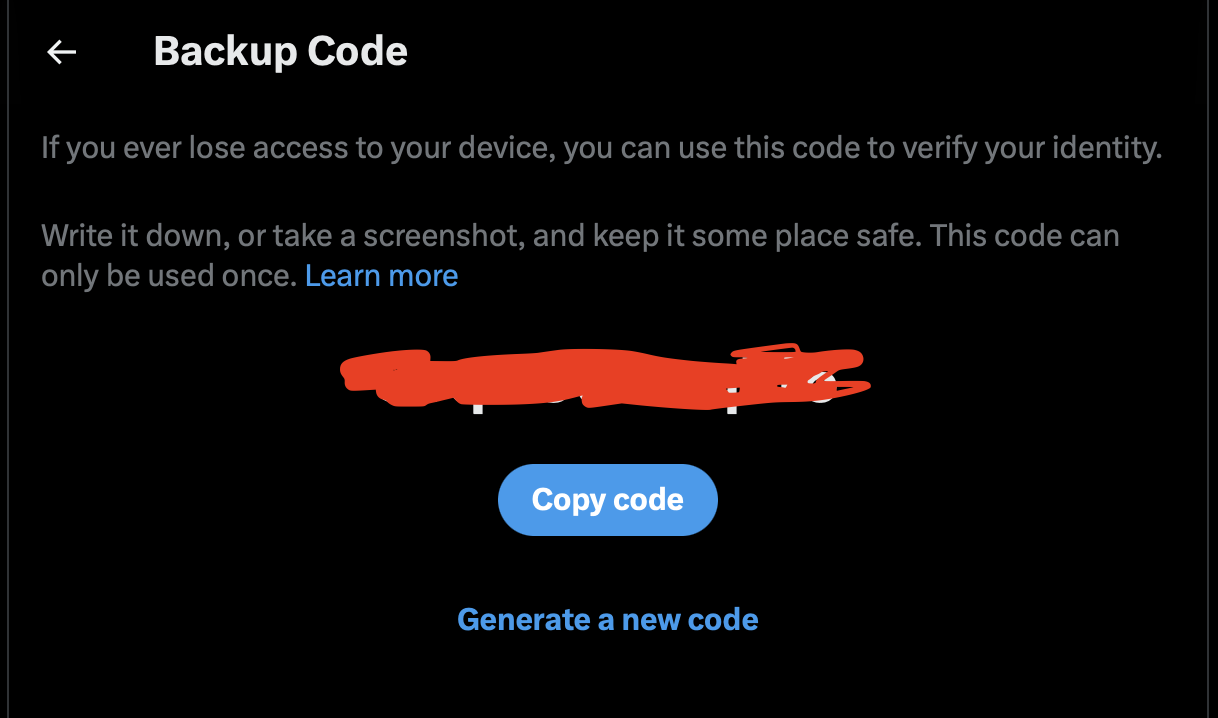
- Make note of the backup code, either writing it down or saving it to your notes application on your phone. You will need this code if you don’t have access to your authenticator app.
- In the navigation bar on the left side of the Twitter page, click on “More”.
You have now set up 2FA on your Twitter account using your authentication app instead of SMS/text.
Discover more from Medi-Nerd 2
Subscribe to get the latest posts sent to your email.


